
Italian Family Traditions
How to Make Passata: Italian Tomato Sauce for Winter
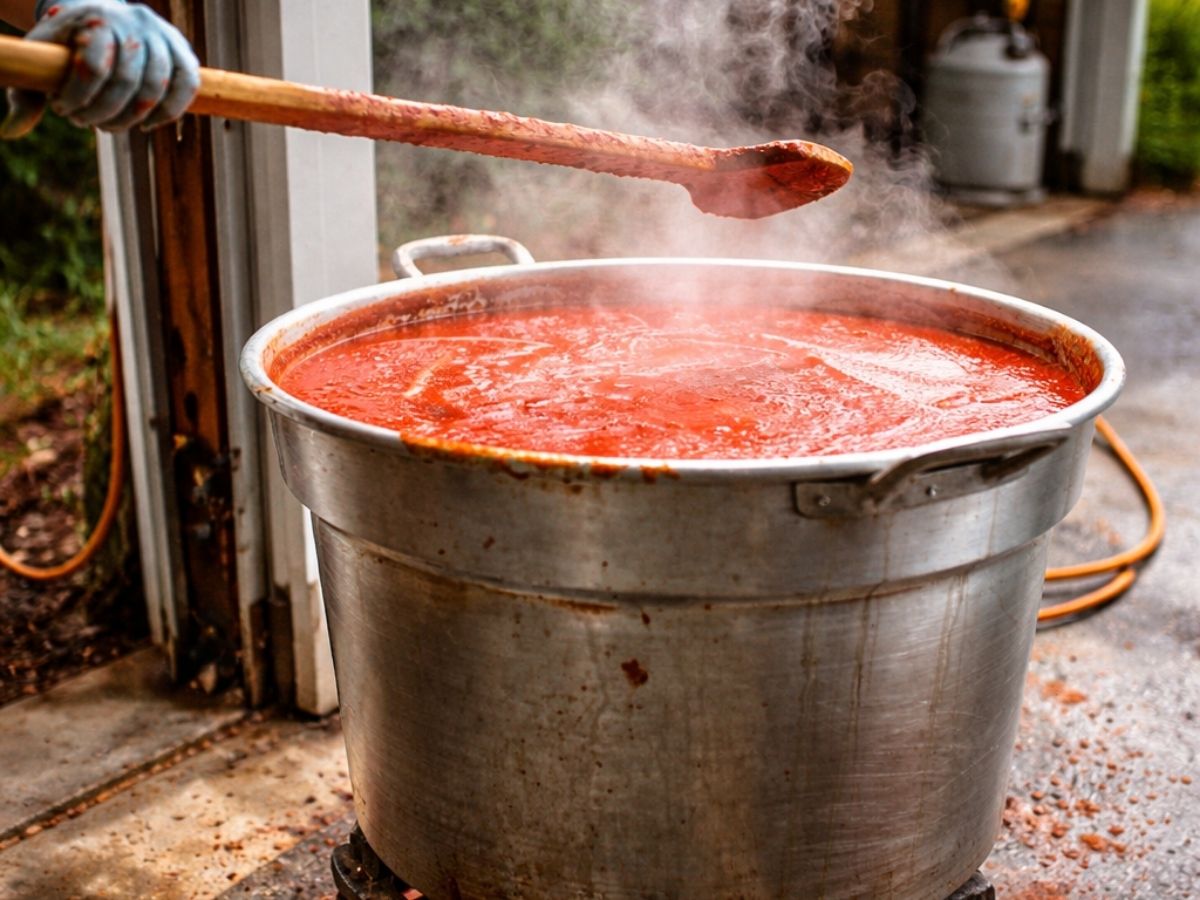
A complete, step-by-step guide to making passata the traditional way — the big family batch and the quick small batch, how many tomatoes you need, the equipment, the method, thickness, and how to jar it safely to last all winter.
By the end of the day my hands are stained, the kitchen smells like it will smell for a week, and there are more jars of red on the counter than seemed possible from a morning that started with a few crates of tomatoes. This is how it has always gone. You make passata in a single long push — the boiling, the milling, the bottling — and at the end you have the winter’s sauce lined up in glass, and a tiredness that feels like an accomplishment.
But you don’t need a whole family and fifty kilos of tomatoes to make passata. You can do a big traditional batch, or a small one on a Sunday afternoon with a single case and a hand blender. This guide covers both — everything you need to make passata at home: how many tomatoes to buy, the equipment, the full method (big-batch and quick versions), how to get the thickness right, how to bottle and store it safely, and how to fix what can go wrong. First, the question everyone asks — how many tomatoes do I actually need?
How Many Tomatoes Do You Need?
The Passata Calculator
Enter how many tomatoes you have — or how many jars you want — and see your yield, plus how much salt and basil to add.
—
750 ml jars of passata
*Adding bottled lemon juice or citric acid raises acidity for safer canning — see the safety notes below. Yields are an honest estimate: ripe plum tomatoes give roughly 60–65% of their weight as finished passata once skins, seeds, and water cook off.
Two ways to make passata: the big day and the small batch
There are really two versions of making passata, and it helps to know which you’re doing:
- The big traditional batch — cases of tomatoes, a food mill, many jars, the whole family, a full day. This is the classic passata day, and it uses a food mill to separate skins and seeds.
- The quick small batch — one case of tomatoes, no food mill needed, an afternoon. You keep the skins and seeds in, cook everything soft, and simply blend it smooth with a hand (immersion) blender. Faster, less equipment, perfect for a few jars.
Both make real passata. The big-batch method (with the mill) gives the purest, most traditional result; the small-batch blender method is easier and keeps a little more body. We’ll cover both below.
The Whole Process, Start to Finish
How Passata Comes Together
The full method at a glance — with the one fork in the road: mill it (big batch) or blend it (small batch).
Hot jars, hot sauce, added acid, and a boiling water bath are what make passata keep safely on the shelf. Small batches for the fridge can skip the water bath.
What you need to make passata
The tomatoes
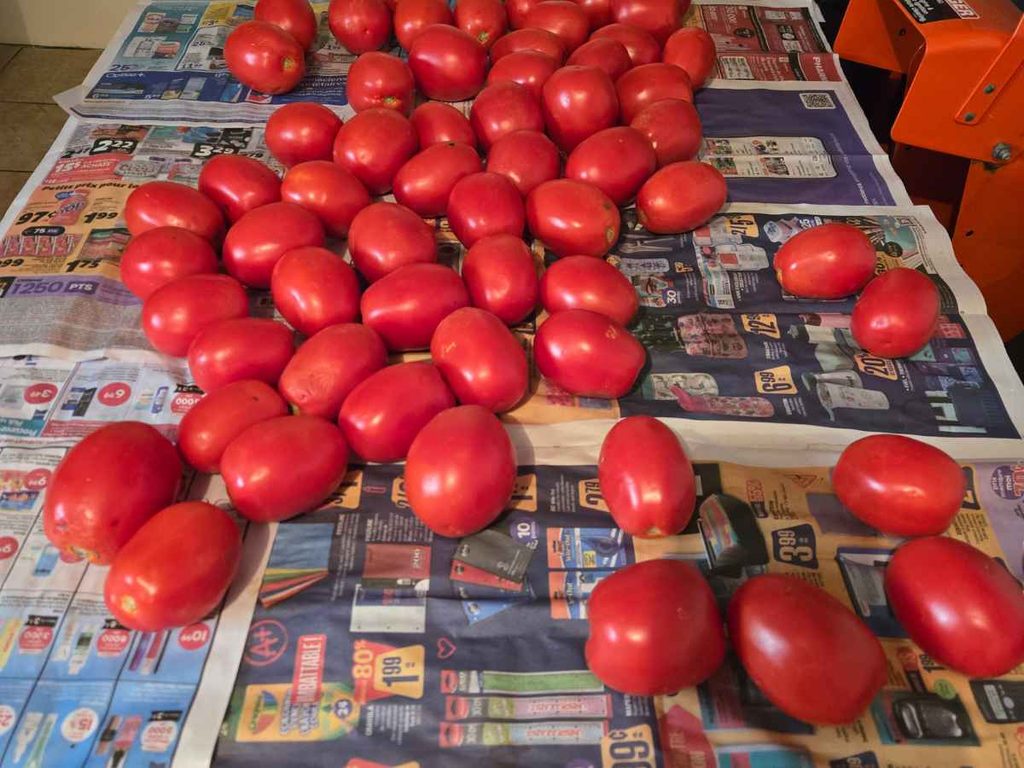
Use ripe plum tomatoes — San Marzano if you can get them, or Roma. Plum varieties have more flesh, fewer seeds, and less water than round salad tomatoes, which means more passata and less time boiling it down. The tomatoes should be dead ripe, even a little overripe — soft, deep red, sweet. This is why passata is made at the end of summer, when tomatoes are at their cheapest and best. Buy them by the case; you will use more than you think.
[ADD YOUR PHOTO HERE: the crates of ripe plum/San Marzano tomatoes]
The equipment
- A large pot (or two) for cooking the tomatoes down
- Either a food mill (passatutto, for the big batch) or a hand/immersion blender (for the small batch)
- Glass jars or bottles with new lids (750 ml passata bottles, or mason jars)
- A large pot for water-bath processing (deep enough to submerge the jars) — for shelf-stable storage
- Optional: cheesecloth or a clean cotton cloth for draining excess water (for a thicker passata)
- Fresh basil, salt, and bottled lemon juice or citric acid (for safe acidity)
- Tongs, funnels, clean cloths, and space to work
You don’t need a whole family and fifty kilos of tomatoes. You can make passata on a Sunday afternoon with a single case and a hand blender.
How to make passata, step by step
1. Wash and sort the tomatoes
Wash the tomatoes well and discard any that are mouldy, split, or spoiled — only good tomatoes go in. Pull off the stems and cut out any bad spots. Halve or quarter larger ones so they cook evenly.
2. Cook the tomatoes down
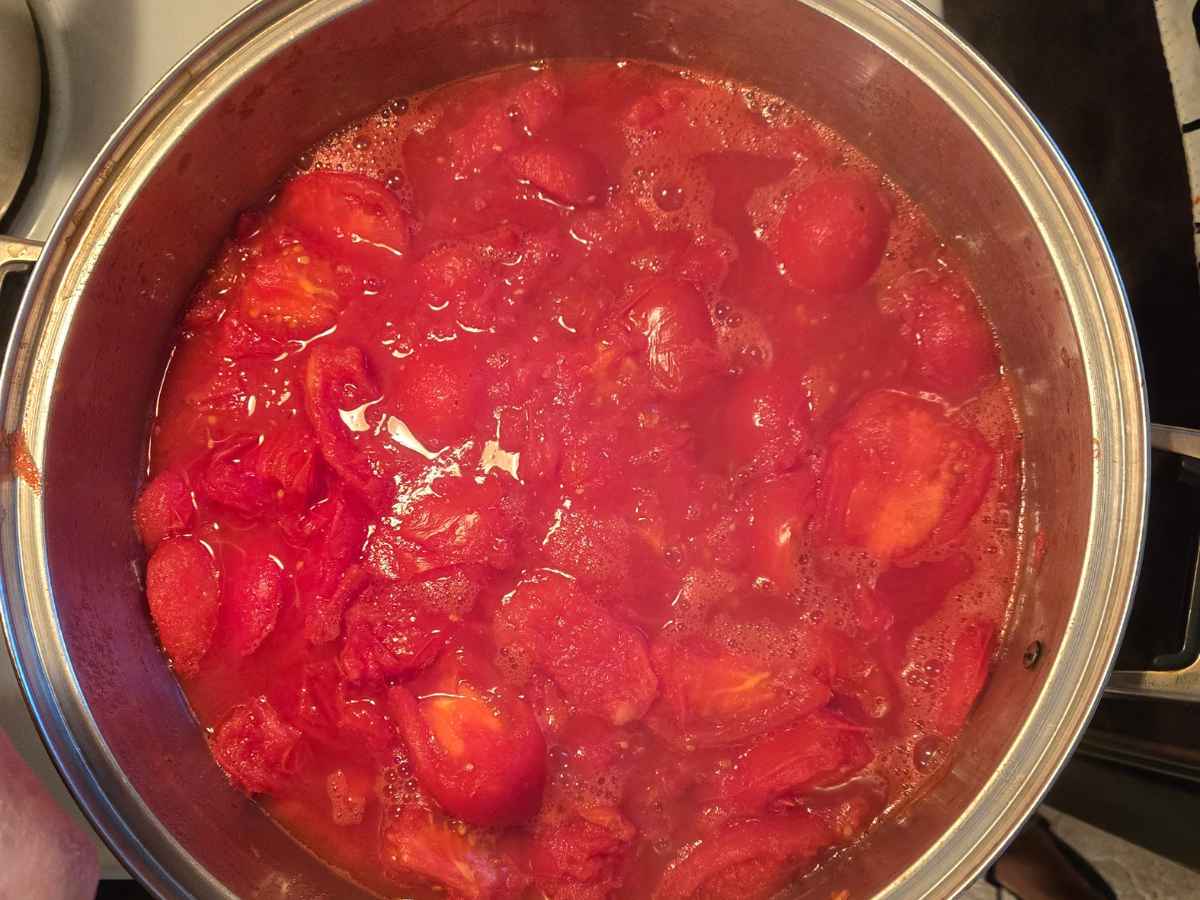
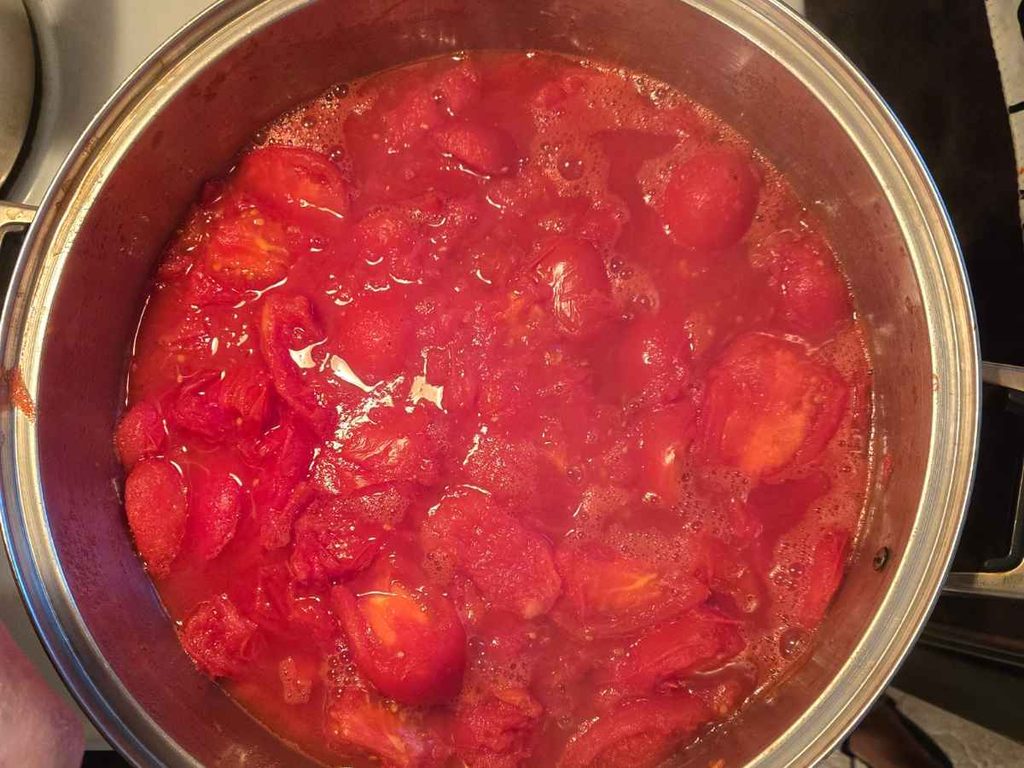
Put the tomatoes into a large pot and cook over medium heat until they soften and break down — about 20–30 minutes, stirring so they don’t catch. Let everything go completely soft. For the small-batch method, this is the key step: you want the tomatoes (skins and all) fully soft so they’ll blend smooth.
3a. Big batch: pass through the mill
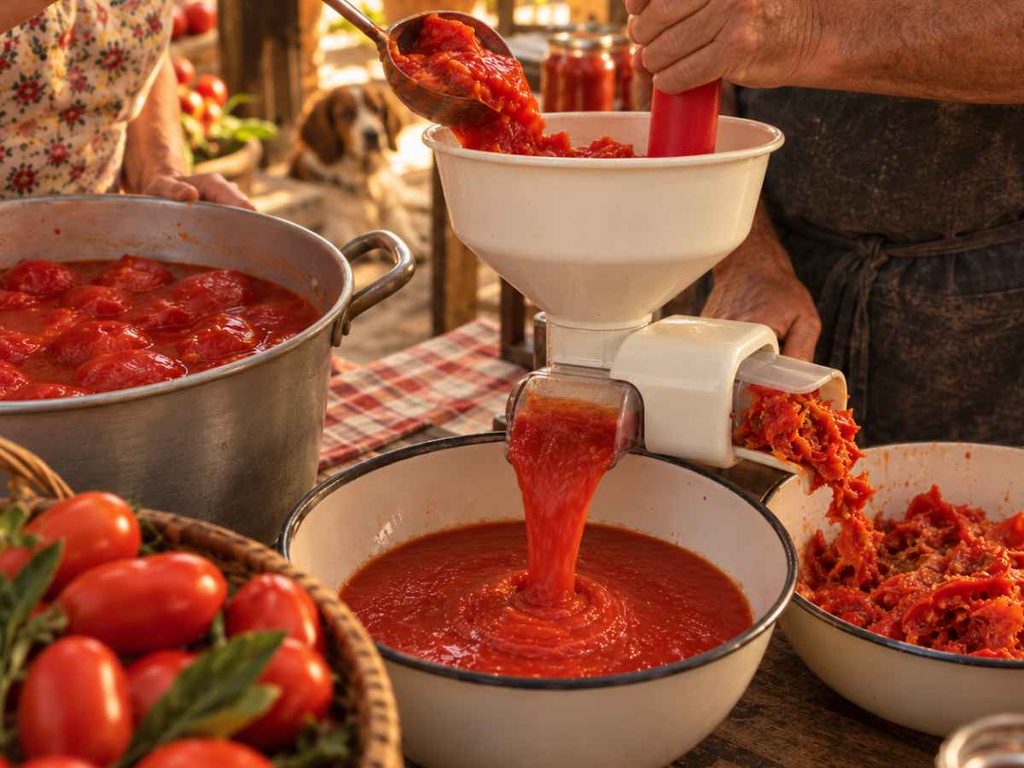
Working in batches, ladle the softened tomatoes into the food mill and turn the crank. The smooth red pulp passes through into a bowl below, while the skins and seeds are left behind (run them through a second time to get every last bit). This is the step that gives passata its name — passata means “passed,” passed through the mill. What you have now is pure, smooth tomato purée.
3b. Small batch (quick version): blend it smooth
If you’re doing a small batch and don’t want to bother with a food mill, here’s the shortcut: once the tomatoes are fully cooked and soft, simply blend everything — skins, seeds, and all — with a hand (immersion) blender right in the pot until smooth. The skins and seeds break down completely and disappear into the sauce, and you lose nothing to the mill. It gives a slightly thicker, more rustic passata and saves a whole step. For a few jars, this is honestly the easiest way, and it works beautifully.
4. Get the thickness right (draining excess water)
Passata should be pourable but not watery. If your tomatoes were very juicy and the purée is thin, you have two ways to thicken it. You can cook it down further — simmer the milled or blended passata gently until it reduces to the body you want (watch it and stir; it can catch and spit). Or, the old trick: drain some of the water off through a cloth. Line a colander with cheesecloth or a clean cotton cloth, pour the passata in, and let the excess watery liquid drip away for a while — you’ll be left with a thicker, richer purée. Many families do this before jarring so the sauce isn’t thin.
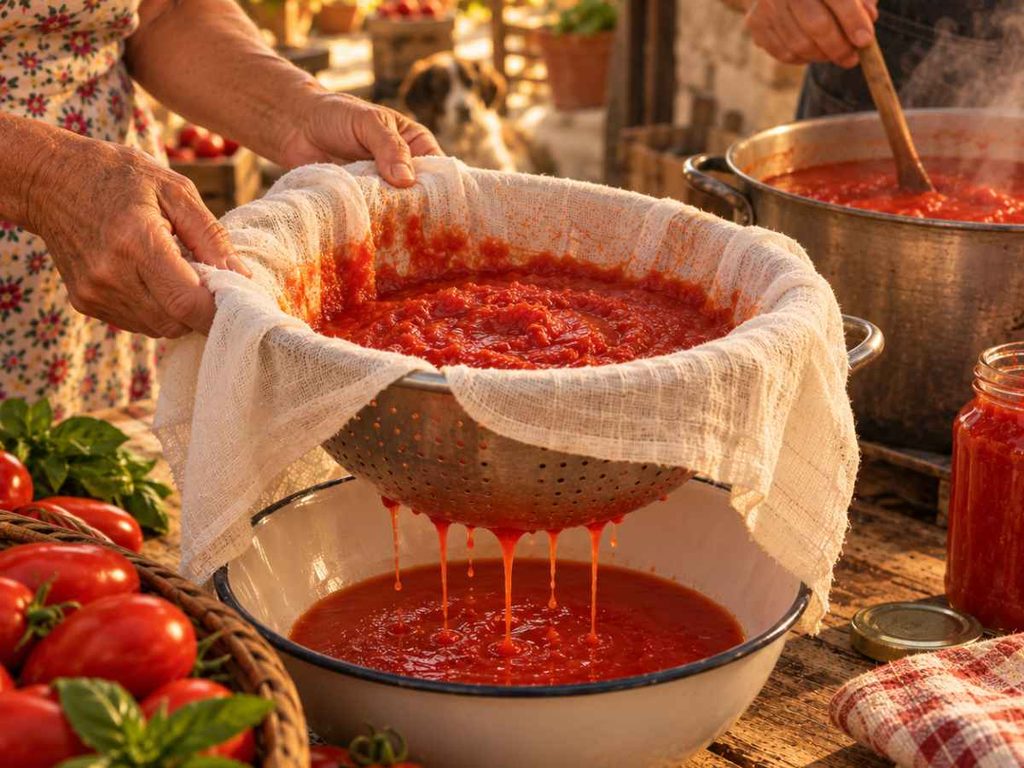
[ADD YOUR PHOTO HERE: draining the passata through a cloth to thicken it]
5. Season (lightly)
Traditional passata is kept plain — just tomatoes — so it can become anything later. Most families add only salt (about a teaspoon per litre, to taste) and a fresh basil leaf or two per jar. Resist adding garlic, onion, or herbs now; those go in when you cook with it. Keep it simple — the purity is the point. For safe canning, also add bottled lemon juice or citric acid now (amounts in the safety section below).
6. Prepare and heat the jars
Your jars must be clean and sterilised. A traditional way to do this — and to get the jars hot before filling — is to heat them in the oven: place clean jars (not the lids) in the oven at a low temperature (around 110–120 °C / 225–250 °F) for 15–20 minutes. This sterilises them and, just as importantly, warms the glass so it won’t crack from thermal shock when you pour in the hot passata. Filling a cold jar with hot sauce can shatter it — hot jar, hot sauce is the safe pairing. Keep the lids in a bowl of hot (not boiling) water until you’re ready.
7. Fill the jars
Ladle or funnel the hot passata into the hot jars, leaving about 1–2 cm of headspace at the top. Drop in a basil leaf. Wipe the rims completely clean — any residue can stop a proper seal. A traditional touch many Italian families use: lay a small square of plastic wrap over the jar opening before screwing on the mason lid. This is a common home practice — it sits between the sauce and the metal lid, helping protect the lid from the acidic tomato and, families find, helping the seal. It’s an optional traditional step, not a safety requirement, but it’s how many households have always done it. Close with new lids, fingertip-tight.
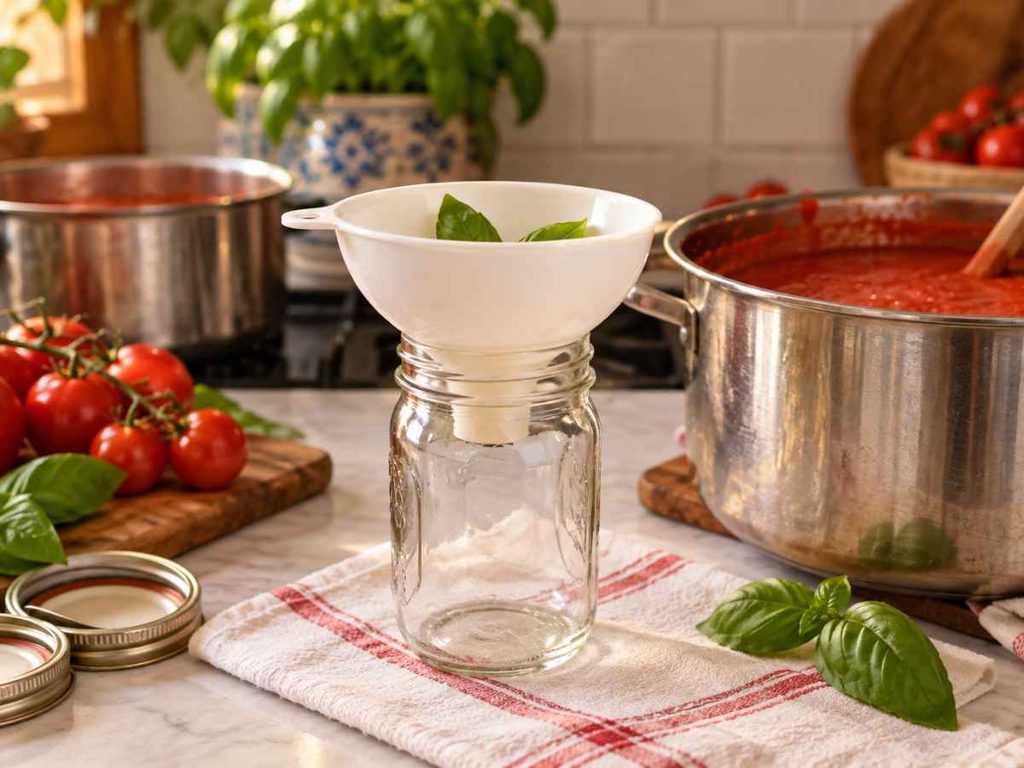
8. Process the jars (for shelf storage)
To store passata safely at room temperature through the winter, the filled jars should be processed in a boiling water bath: submerge the sealed jars fully in a large pot of water, bring to a rolling boil, and process — commonly around 35–40 minutes for 750 ml jars (follow a tested canning guide for exact times and your altitude). Lift the jars out and let them cool undisturbed. As they cool you’ll hear the lids “pop” as they seal — the most satisfying sound of the whole day. Any jar that doesn’t seal goes in the fridge to use first.
A note on small batches: for a few jars you plan to eat soon, many people simply fill hot sterilised jars, seal, and keep them in the fridge — skipping the water bath. That’s fine for short-term, refrigerated use. But for jars you want to keep in the cupboard for months, the boiling-water-bath step is what makes them safely shelf-stable. When in doubt, refrigerate.
Canning passata safely — please read this
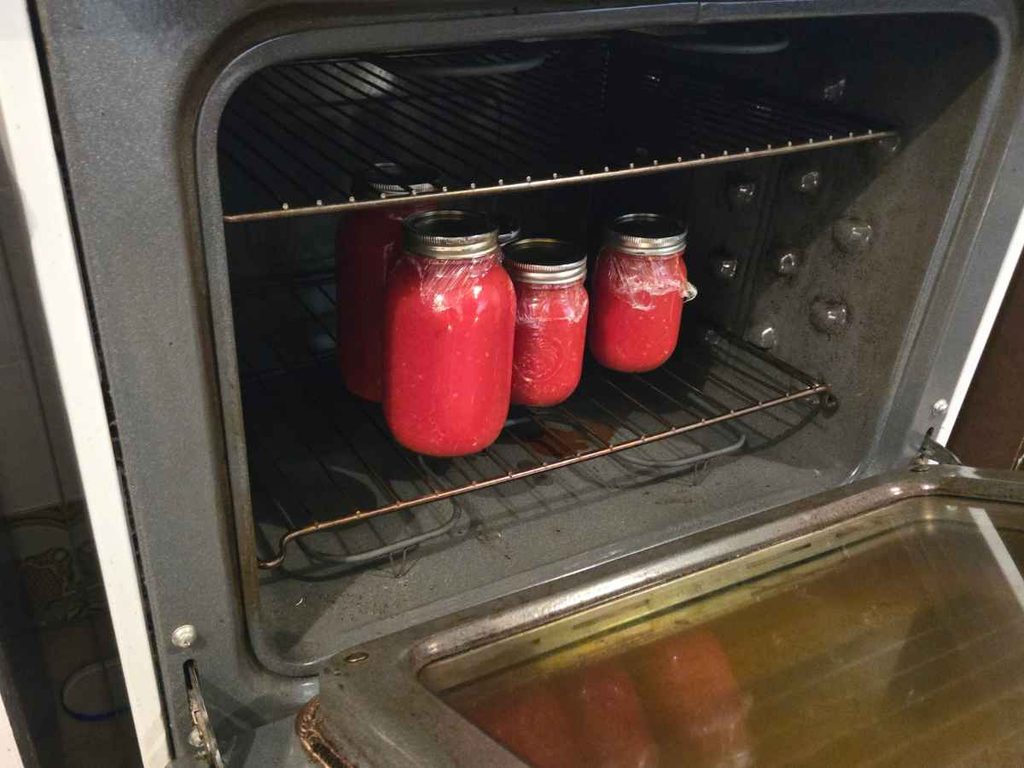
Home-canned tomatoes must be handled correctly, because improperly canned low-acid foods can harbour Clostridium botulinum (botulism) — rare, but serious. The good news: passata is easy to do safely if you follow a few rules.
- Add acid. Modern tomatoes can be borderline for safe acidity, so add bottled lemon juice (about 1 tablespoon per 500 ml / 2 tablespoons per litre) or citric acid (about ¼ teaspoon per 500 ml) to each jar. This is the single most important safety step.
- Sterilise jars and use new lids. Whether you sterilise by boiling or in the oven, jars must be clean and hot, with fresh sealing lids.
- For shelf storage, process in a boiling water bath. Oven-heating sterilises and warms the jars, but it is not a substitute for water-bath processing the filled jars — that step is what makes them safely shelf-stable. Small batches kept in the fridge are the exception.
- Check the seals. A sealed lid is concave and doesn’t flex. Refrigerate and use any unsealed jars promptly.
- When in doubt, throw it out. Discard any jar that is bulging, leaking, spurts when opened, smells off, or shows mould.
Follow a tested, up-to-date home-canning guide (such as those from a national food-preservation authority) for exact processing times and altitude adjustments. This guide describes the traditional method; your safety depends on following current tested canning standards.
Write It Down
Your family’s passata recipe — before it’s lost.
The exact tomatoes, the amounts, the little tricks only your family used — the Italian Family Heritage Kit gives you 133 guided pages to record your family’s recipes, traditions, and stories for the next generation.
Explore the Heritage Kit — $19.99Instant digital download.
What to do with your passata
This is the joy of it: one base, endless uses. Your plain passata becomes the sugo for Sunday pasta (gently cooked with garlic, olive oil, and basil), the sauce for pizza, the foundation of a ragù, the tomato in a soup or a braise. Because you kept it simple, it goes anywhere. A spoonful thinned with pasta water and a little cheese is dinner in ten minutes. And on a grey winter night, opening a jar of the passata you made in September — that deep summer-red smell rising out of the glass — is one of the small, real pleasures of doing it yourself. It’s the sauce you’ll want to wipe the plate clean after.
Passata troubleshooting
| Problem | Why & what to do |
|---|---|
| My passata is too watery | Round or overripe tomatoes hold water. Use plum varieties, drain through a cloth before jarring, or cook the purée down further. |
| It separated into water and pulp in the jar | Normal — just shake or stir before using. To reduce it, drain through a cloth or cook the passata down after milling/blending. |
| I don’t have a food mill | Do the small-batch method: cook the tomatoes fully soft, then blend everything smooth (skins and seeds included) with a hand blender. |
| My jar cracked when I filled it | Thermal shock — hot sauce into a cold jar. Heat the jars first (oven or hot water) so hot meets hot. |
| A jar didn’t seal (lid flexes) | Refrigerate and use within a few days, or reprocess within 24 hours with a new lid. |
| The passata tastes flat | Not enough salt, or under-ripe tomatoes. Season when you cook with it; ripe tomatoes are everything. |
| How long does it keep? | Properly sealed and water-bath processed, roughly 12–18 months in a cool, dark place. Fridge-only small batches: use within a week or so. |
Free Printable
The whole Italian year, on one calendar.
Join the list for a free printable Italian family calendar — the feast days, seasons, and traditions like passata day, mapped across the year.
Why it’s worth the day
Store-bought passata exists, and it’s fine. But a shelf of jars you made yourself is something else — the taste of late summer opened up in February, the smell that fills the house, and, if you do it with family, a day you’ll remember long after the sauce is gone. This is the heart of the tradition: read more about what passata is and what passata day meant to Italian families, the world of the Italian cantina where the jars were kept, and the vegetable garden that grew the tomatoes. The passata you make becomes the base of the Italian Sunday dinner all winter long.
Whether it’s a full family passata day or a quiet afternoon with one case and a hand blender, the result is the same: jars of summer put away in glass, to open when you need them most. Buy good tomatoes, keep it simple, get the thickness right, jar it safely — and you’ll have done what Italian families have done for generations.
More on the tradition: what is passata, the Italian cantina, the Italian vegetable garden, the Italian Sunday dinner, and San Martino, when the year’s work was tasted.
FAQ
How many tomatoes do I need to make passata?
Ripe plum tomatoes yield roughly 60–65% of their weight as finished passata — so about 20 kg of tomatoes makes roughly 16 jars of 750 ml. Use the passata calculator above for your exact amount plus salt, basil, and lemon juice.
Can I make passata without a food mill?
Yes. Use the small-batch method: cook the tomatoes until completely soft, then blend everything — skins, seeds and all — smooth with a hand (immersion) blender. The skins and seeds break down into the sauce. It’s the easiest way to make a few jars.
How do I make passata thicker?
Two ways: cook the milled or blended passata down further to reduce it, or drain the excess watery liquid through a cheesecloth or clean cotton cloth before jarring. Using meaty plum tomatoes to begin with also gives a thicker result.
Why heat the jars in the oven first?
Heating clean jars in a low oven (about 110–120 °C) sterilises them and warms the glass so it won’t crack from thermal shock when you add the hot passata. Always pair hot jars with hot sauce. Note: oven-heating the jars is not a substitute for water-bath processing the filled jars if you want shelf-stable storage.
Why put plastic wrap under the lid?
It’s a traditional home practice many Italian families use — a small square of plastic wrap laid over the jar opening before the mason lid goes on. It sits between the acidic tomato and the metal lid and, families find, helps the seal. It’s an optional traditional step, not a food-safety requirement.
How do you store homemade passata safely?
For shelf storage: fill hot sterilised jars leaving headspace, add lemon juice or citric acid, seal with new lids, and process in a boiling water bath (about 35–40 minutes for 750 ml jars). Sealed jars keep 12–18 months in a cool, dark place. Small batches can be kept in the fridge and used within a week or so.
Is passata the same as tomato sauce?
Passata is pure strained tomatoes — smooth purée with nothing added but maybe salt and basil. It’s a base, not a finished sauce. You turn passata into tomato sauce later by cooking it with garlic, onion, herbs, and oil.
When is the best time to make passata?
Late summer to early autumn, when tomatoes are fully ripe, cheapest, and best — traditionally a single big “passata day” with the whole family.

Marco Ricci is an Italian-Canadian writer and the grandson of Calabrian immigrants. He created Italian Family Traditions to document the customs, feast days, and family rituals Italian families carried from Italy to North America — and to understand what they actually meant. He is based in Montreal.

Pingback: Italian Sunday Dinner:Why It Was Never Really About the Food